-
Tel : 86+19526646869
-
Email : admin@gmarkcn.com
-
Skype : +86-17803901720,86+13100396144


Tel : 86+19526646869
Email : admin@gmarkcn.com
Skype : +86-17803901720,86+13100396144
Acrylic foam tape fails for three reasons: a dirty surface, too little pressure, too little dwell time. Learn to clean, press and wait for a lasting bond.
Acrylic foam tape is the quiet workhorse behind bonded trims, sign panels, window frames and vehicle badges — and it fails for boring, preventable reasons. Bond strength is never decided by the tape alone. It is decided by how you prepare the surface, how much pressure you apply, at what temperature, and how long you leave the joint alone afterwards. Here is the correct way to apply acrylic foam tape, section by section.
Acrylic foam tape is a pressure-sensitive adhesive: it bonds by flowing into the microscopic pores and peaks of a substrate, not by melting or reacting. Anything sitting between the adhesive and the surface — dust, cutting fluid, mold release agent, silicone, hand oil, even a thin film from a household cleaner — becomes a weak boundary layer. Failure then happens inside that layer, not inside the tape. In field investigations, the vast majority of "tape failures" are actually contamination failures, and no premium tape compensates for a dirty surface.
Use the two-cloth method. Wipe the bond area with a lint-free cloth dampened with a 50/50 mix of isopropyl alcohol (IPA) and water, then immediately wipe it dry with a second clean, dry cloth — do not let the solvent evaporate on the surface, because it just redeposits the contamination you lifted. For painted metal, most plastics and aluminum, a light scuff with an abrasive pad by the two-cloth wipe improves adhesion noticeably. Avoid silicone-based polishes, waxes, "protectants" and oily shop rags entirely. Let the surface dry fully, and never touch the cleaned area with bare fingers.
Some substrates are low-surface-energy or chemically unreceptive: PP, PE, TPO and many filled plastics, powder-coated finishes, and some metals such as copper and brass. On those, standard acrylic foam tape can show low initial tack and premature peeling, so a thin, dried coat of an adhesion promoter (for example a 3M Primer 94 type product) is normal practice. Apply a thin film, let it dry completely as specified, then bond. A primer is an additive, not a substitute — it will not rescue a contaminated or wet surface.
Match thickness to the surface and the stress. For smooth, flat, rigid substrates with light load, 0.4–0.6 mm is usually enough. For general trim and signage work, 0.8–1.2 mm gives real gap-filling and stress-absorbing capability. For textured, curved or uneven surfaces, or joints between materials with very different thermal expansion (aluminum to plastic, glass to steel), 1.5–2.3 mm is the working range. The rule is simple: thick enough to bridge the gap and absorb movement, but not so thick that the two parts can rock against each other. When the load is heavy or safety-related, confirm with the tape manufacturer's technical data sheet rather than rules of thumb.
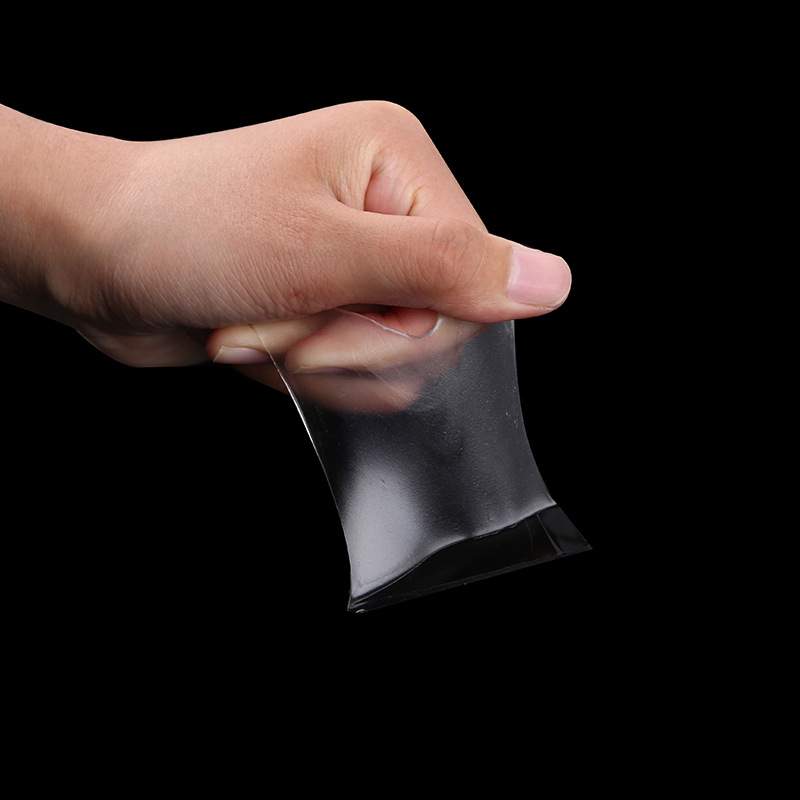
For optimal performance, store heavy duty transparent acrylic tape at 15–25 °C, away from direct sunlight and strong solvents, and follow the shelf life indicated on the carton, typically 12–24 months. If the tape has been stored in cold conditions, allow it to return to room temperature for approximately 24 hours before application to ensure the adhesive remains pliable.
For clean and reliable bonding, handle the tape carefully during application. Cut it with a knife or scissors rather than tearing it, keep the liner in place until bonding, peel the liner at a shallow angle, and avoid touching the exposed adhesive. Do not stretch the tape along its length during application, as stretched tape may pull back over time and affect the bond line.
Pressure is what converts contact into adhesion. The industry benchmark is roughly 15 psi (about 100 kPa) applied evenly across the whole bond area — in practice, two firm passes with a hand roller or a flat applicator, working from the centre outwards. The visual test is simple: the foam should compress slightly and turn a visibly darker shade. Insufficient pressure leaves air gaps and can leave you with only a fraction of the tape's rated strength. Apply pressure immediately after the parts are aligned, ideally within a few minutes of contact, while the adhesive is still wetting out.
The sweet spot for acrylic foam tape is 21–38 °C (70–100 °F), measured at the surface, not just in the room. Below about 10 °C (50 °F) the adhesive becomes too stiff to wet out properly, initial tack drops sharply, and extra pressure will not fix it. Above roughly 38 °C the foam becomes soft and handling turns sloppy; applying to a panel that is hot from direct sunlight can also trap stress into the joint. In cold-weather work, warm the substrate gently and keep the roll indoors until use. Never use a flame or an uncontrolled heat gun near the adhesive.
Peel the liner back only as far as you are ready to commit — a few centimetres at a time — and press as you go, rather than removing the whole liner and then laying the part down. Use scribe lines, spacers or a fixture to align the component before first contact, because once the adhesive touches down, repositioning options are very limited. Roll from the centre towards the edges so any trapped air is pushed out rather than sealed in. On long runs, keep the tape in one continuous piece where possible and leave a small relief gap at the ends to allow for expansion.
Because acrylic foam tape needs time, not just force, to build its bond. Immediately after application, the adhesive has made contact but has not yet fully flowed into the substrate's micro-texture. As a typical reference, an acrylic foam tape reaches roughly 50 % of its ultimate bond strength within about 20 minutes, about 90 % after 24 hours, and essentially full strength after 72 hours at room temperature. That curve is the reason two identical joints — one loaded after five minutes and one loaded after a day — can look completely different six months later.
Treat the first 20 minutes as "hands off", 24 hours as the minimum before normal load, and 72 hours as the point where the bond is fully developed. During that window, keep the assembly away from peel and shear stress, water, rain, pressure washing, high wind and vibration. In automotive and architectural work, this often means temporary fixturing or simply not moving the vehicle or panel for a day. If the part must be positioned immediately, support it mechanically until the 50 % mark at least.
It can be shortened modestly: warming the joint to around 38–45 °C with a heat lamp or warm-air tunnel is standard practice on production lines and speeds up wet-out considerably, as long as you stay well inside the tape's temperature limits. It gets longer in cold conditions, in high humidity, and on rough or porous surfaces that demand more adhesive flow. Do not try to shortcut the process with excessive clamping pressure or by abusing the tape — dwell time is a property of the adhesive, not an inconvenience to be defeated.
The recurring causes, in rough order of frequency: a contaminated surface; too little roller pressure; application in cold conditions; load or water exposure inside the first 24 hours; using tape that is too thin for a textured or curved surface; stretching the tape during installation; and low-surface-energy substrates bonded without a primer. Thermal expansion mismatch is a secondary but common cause on long panels — the joint does not fail because the tape is weak, but because the design asks a 0.5 mm bond line to absorb movements it was never sized for.
Acrylic adhesives are inherently UV- and ageing-resistant, which is why they dominate exterior trim and signage work, but the substrate or its coating may not be — a chalking or flaking paint will fail before the tape does. Check the data sheet for the continuous service temperature (commonly around 90 °C, with short-term peaks higher) and for the recommended product grade. On long exterior runs, use a thicker foam to absorb daily expansion, and consider a perimeter seal of neutral-cure sealant to keep water and dirt out of the bond line edges.
Applying acrylic foam tape correctly is not complicated, but it is unforgiving of shortcuts. Clean the surface properly, choose a thickness that matches the joint, apply real pressure over the full bond area, work within the 21–38 °C window, and then protect the assembly for 24 to 72 hours while the adhesive finishes its job. Do those five things and the tape becomes what it is designed to be: a permanent, invisible fastener that outlasts the parts it holds.
Contact
Wechat Whatsapp


Tel:+86 13100396144 Mrs Diana Zhou
E-mail:sales9@gmarktape.com
Contact me for more details and to get a free sample.
Email : admin@gmarkcn.com
Skype : +86-17803901720,86+13100396144
No.7 Liyuan Road, Xuzhen Zone, Zhangmutou Town, Dongguan City, Guangdong, China